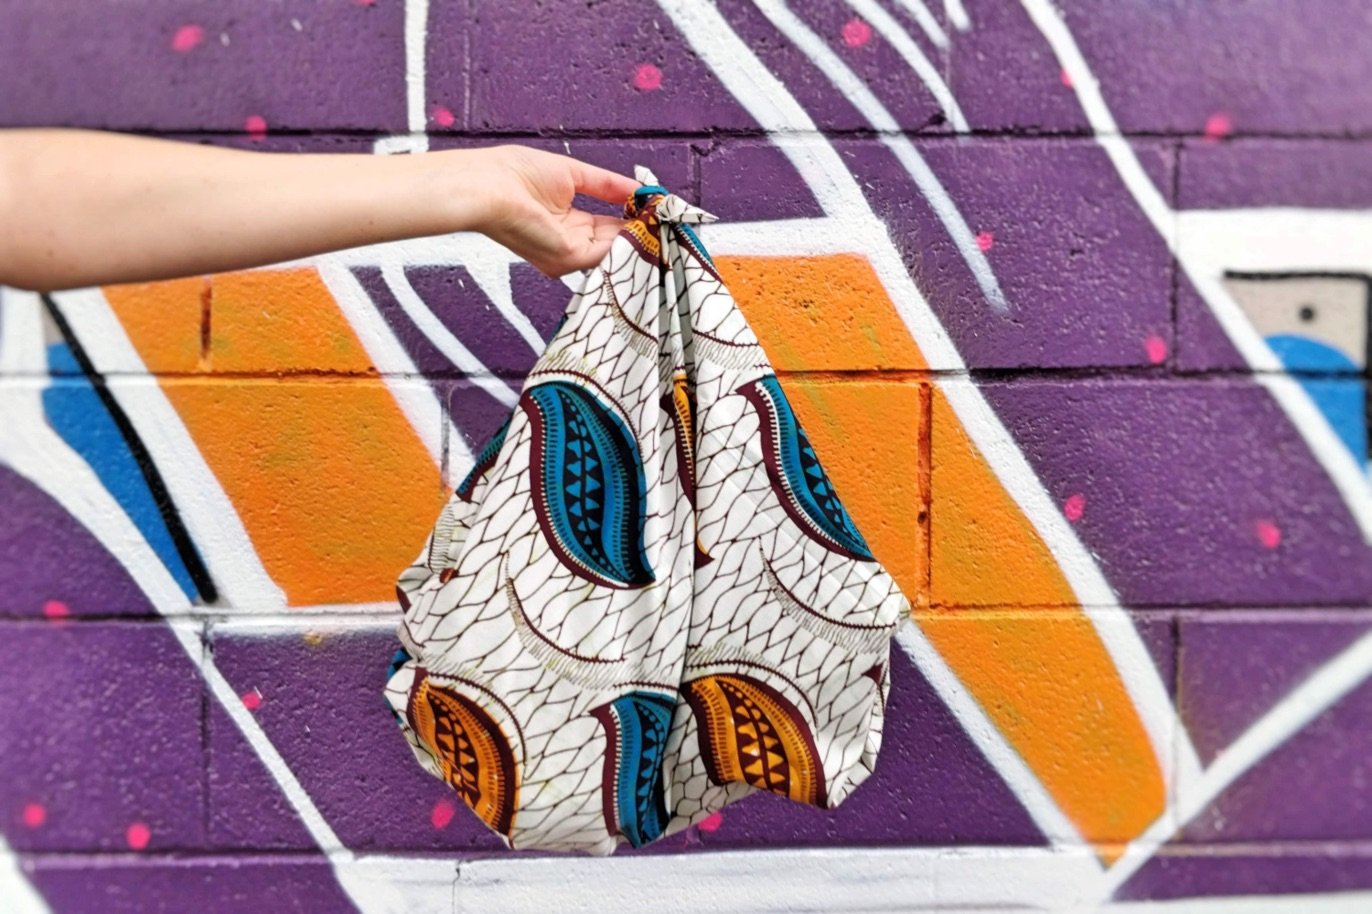
How To Tie a Furoshiki Wrap (Or Scarf!) into a Bag
A furoshiki wrap is a simple square piece of cloth and so much more! Among other things, with a few knots it can be turned into a bag. Here’s how to DIY one and tie it into a bag…
Furoshiki is a Japanese custom of using a square piece of cloth to make a bag for carrying wet clothes home from the onsen or public baths. This was its original use. It is now used to create bags to carry all manner of things, including groceries, bread and pastries, books, and bento boxes, as well as to wrap presents instead of the wasteful Western practice of using wrapping paper.
How to make your own furoshiki
You can easily DIY your own furoshiki wrap by cutting a piece of fabric into a square. You’ll need a large square to be able to make it into a decently sized bag - around 90 cm - but you can cut smaller squares to make smaller ones you can carry on you and use to make small bags for sweet treats or fruit.
You can either hem it around the edges or cut the square out using pinking shears so it doesn’t fray.
You can also buy them if you’re not keen on DIYing one. There are loads of options on Etsy.
How to fold and tie a furoshiki
There are many different ways to fold and tie a furoshiki, depending on what you want to use it for. We’re only showing one easy way in which it can be turned into a bag here.
Great for travelling, they’re easy to throw into your suitcase without taking up too much space. It’ll give you an extra bag, a table cloth, a scarf, a belt, and something to wrap a present in if you’ve forgotten you need to give someone a gift.
Here’s how to tie a furoshiki wrap into a bag:

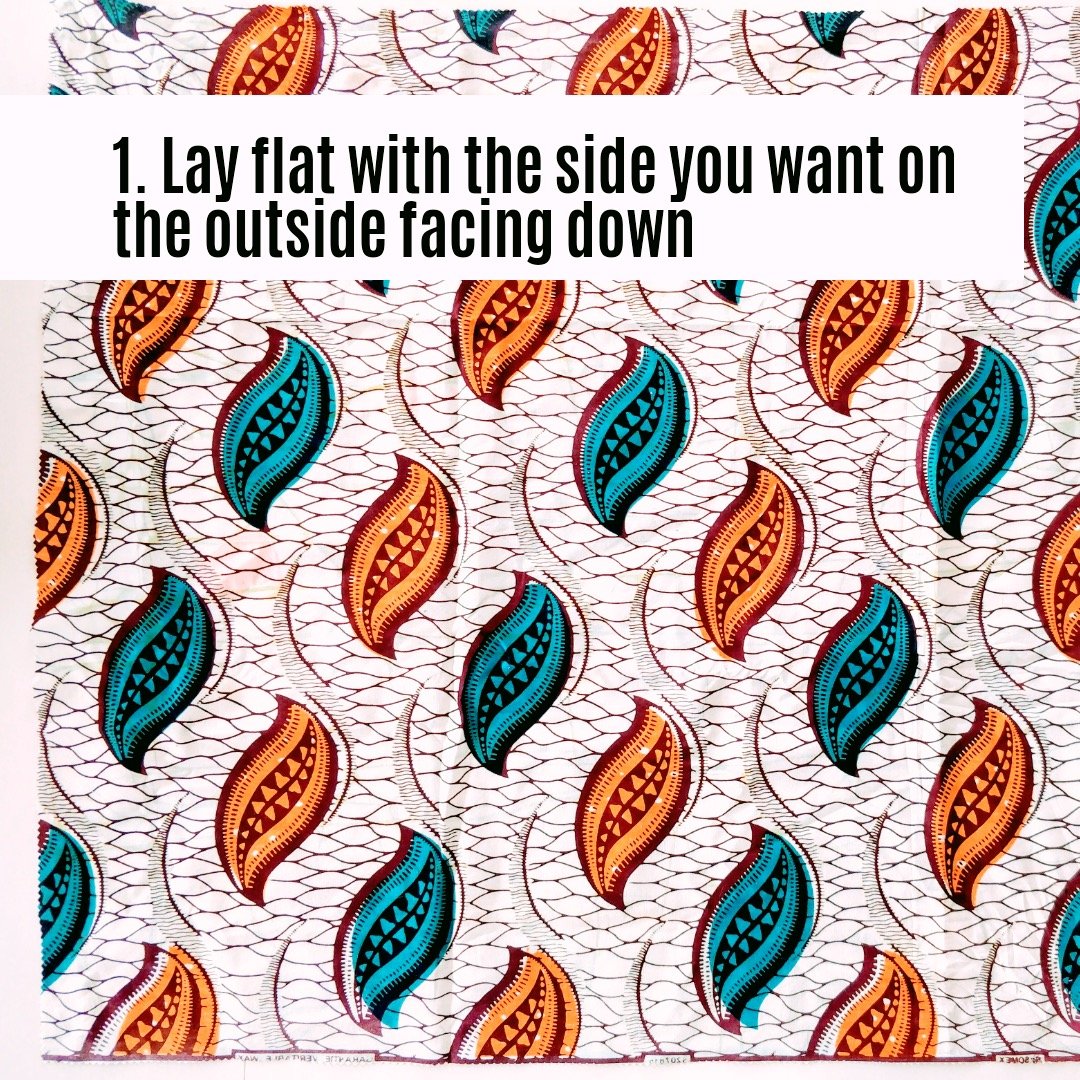

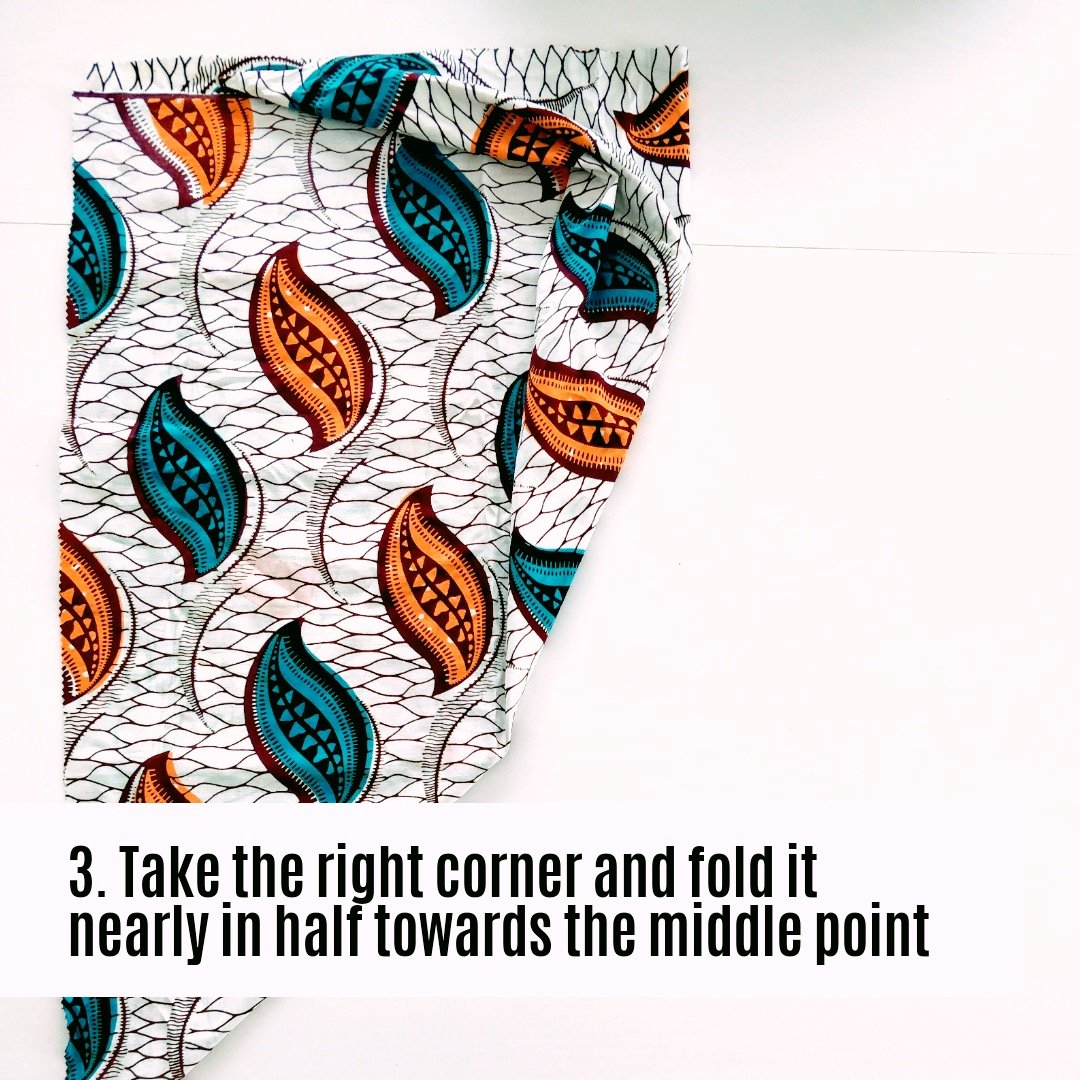
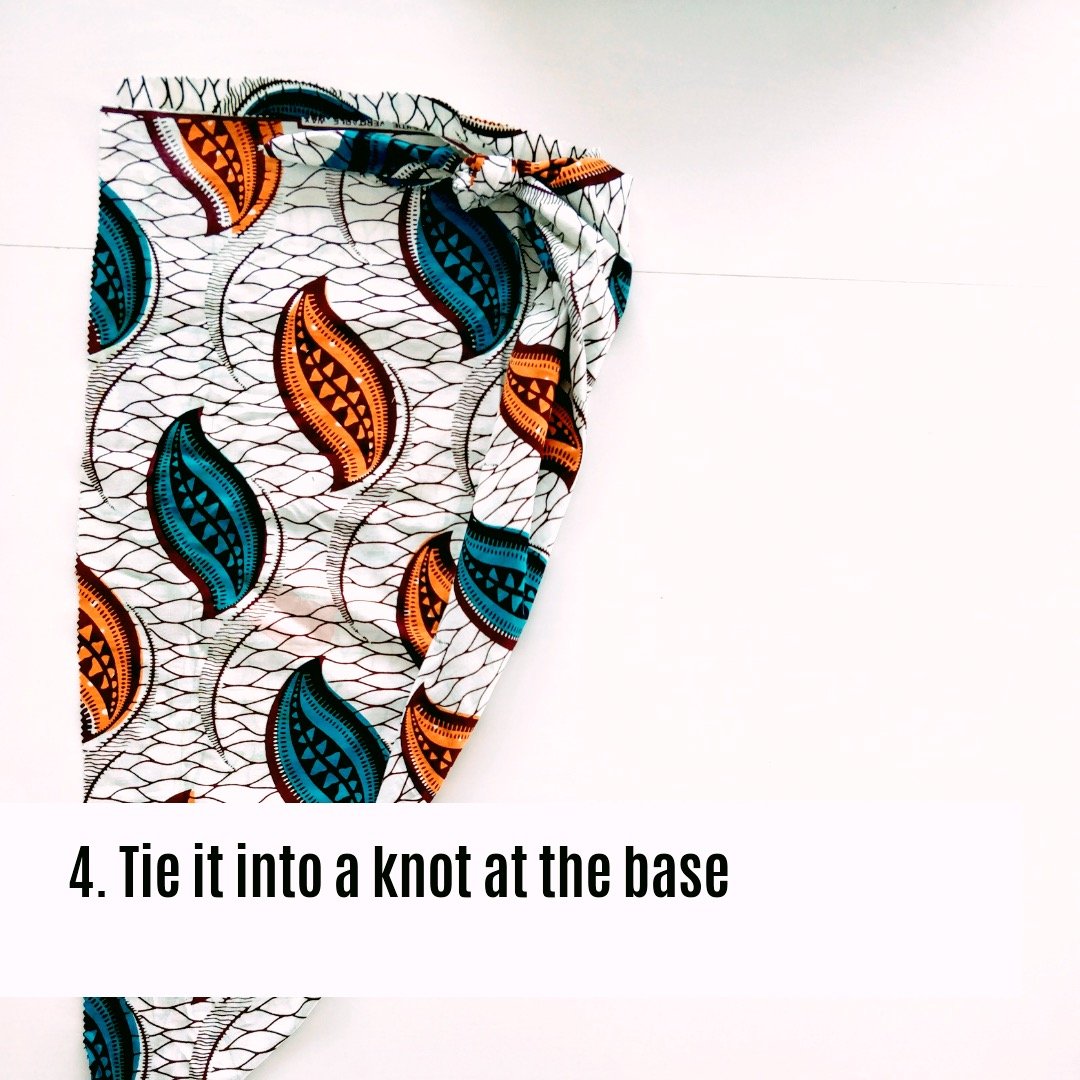
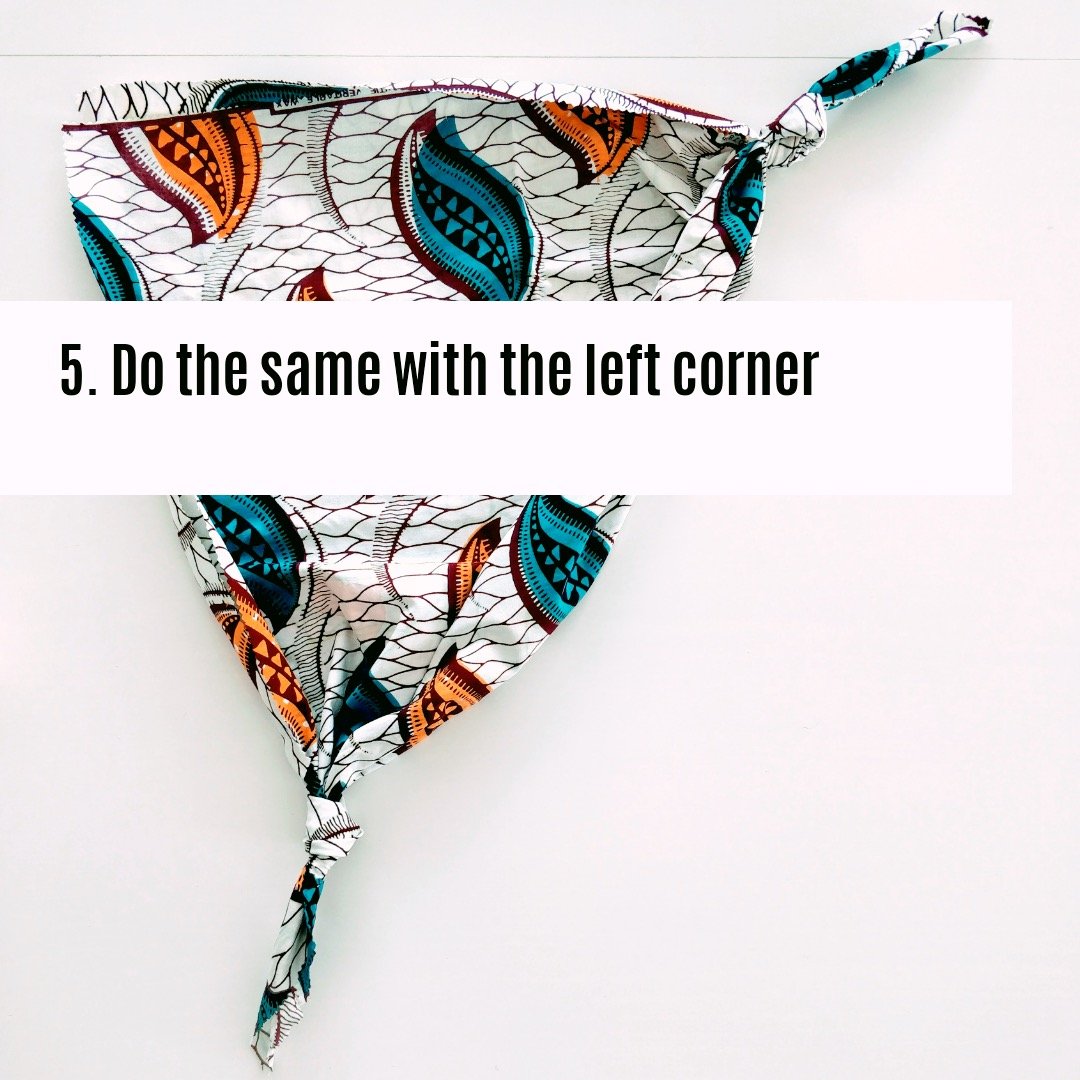
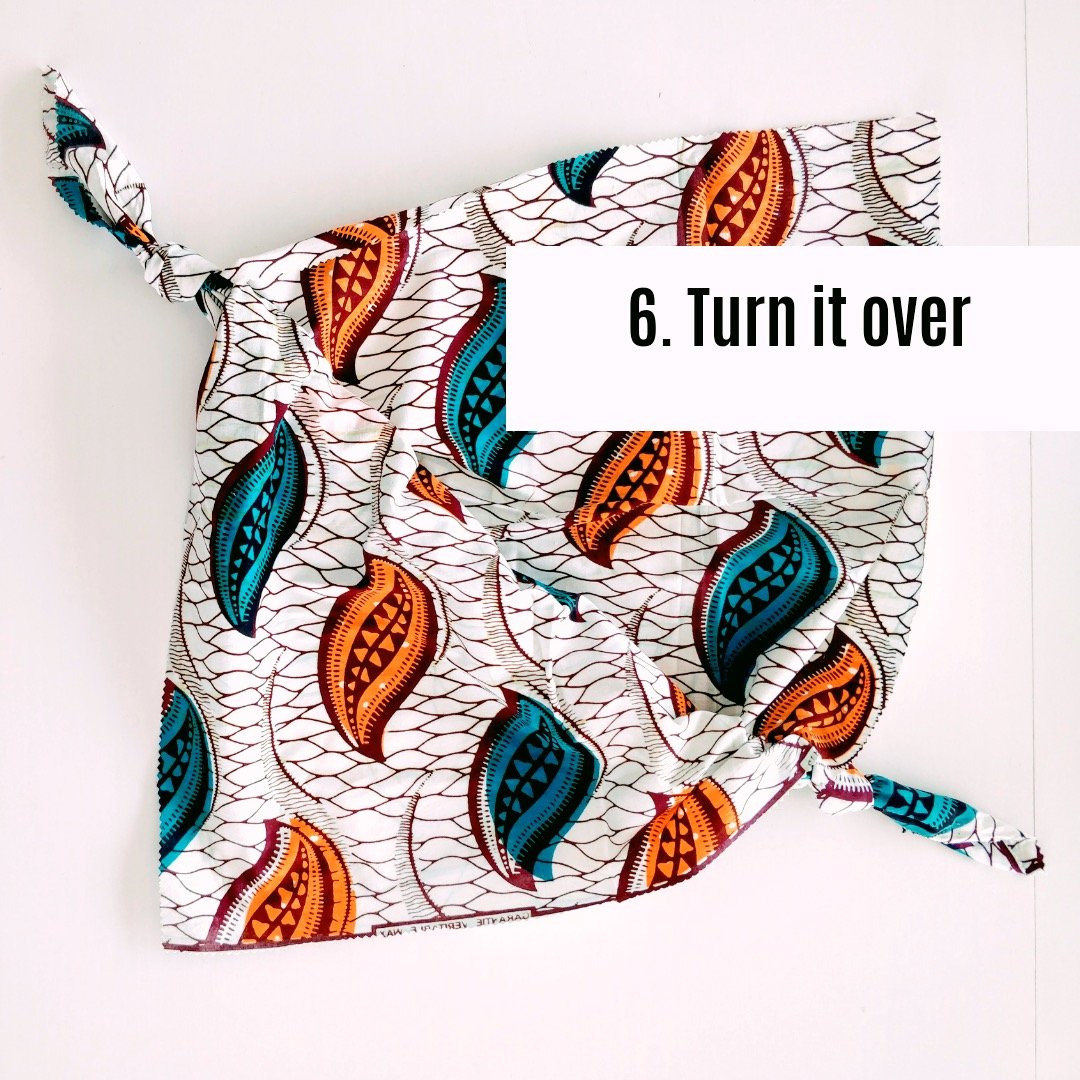
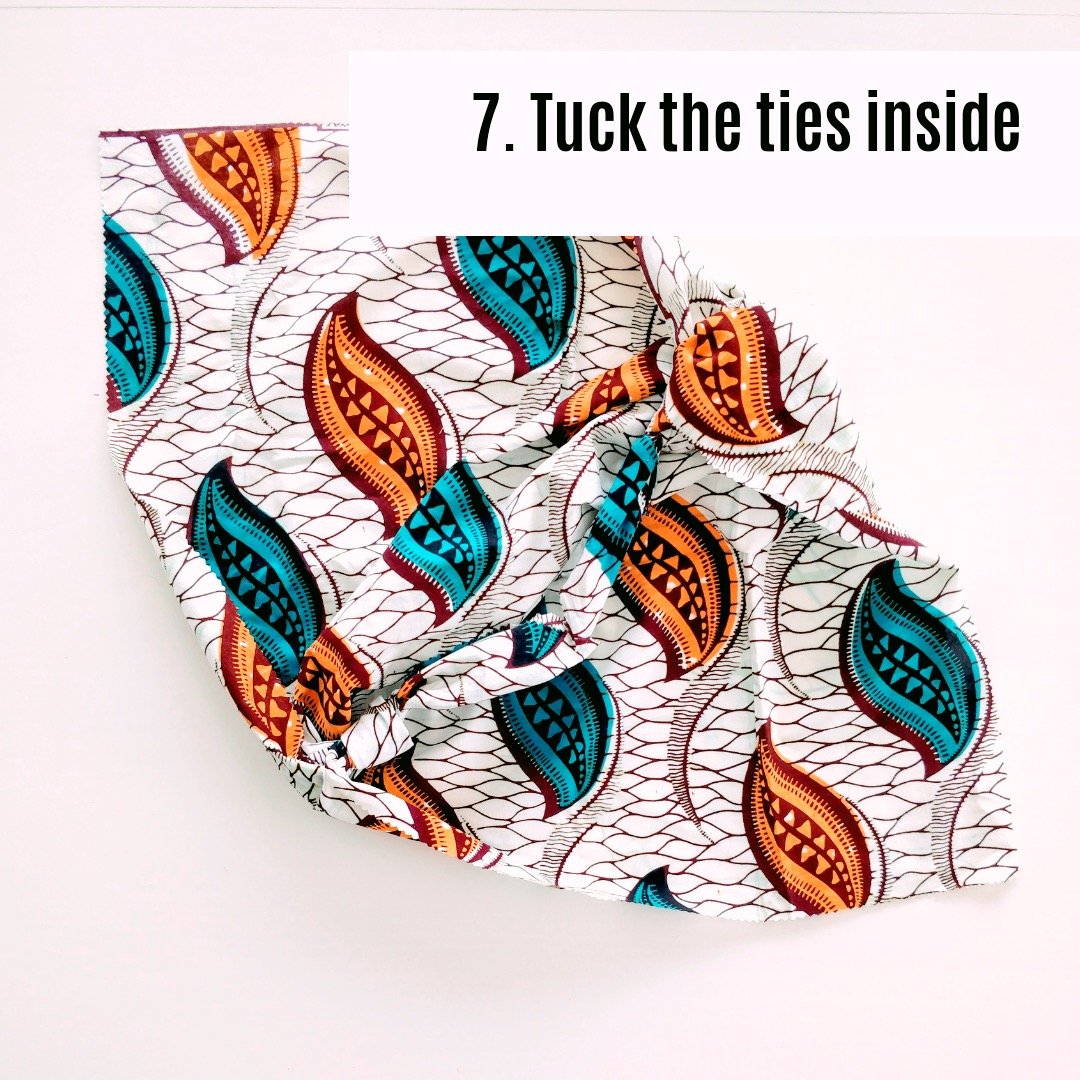
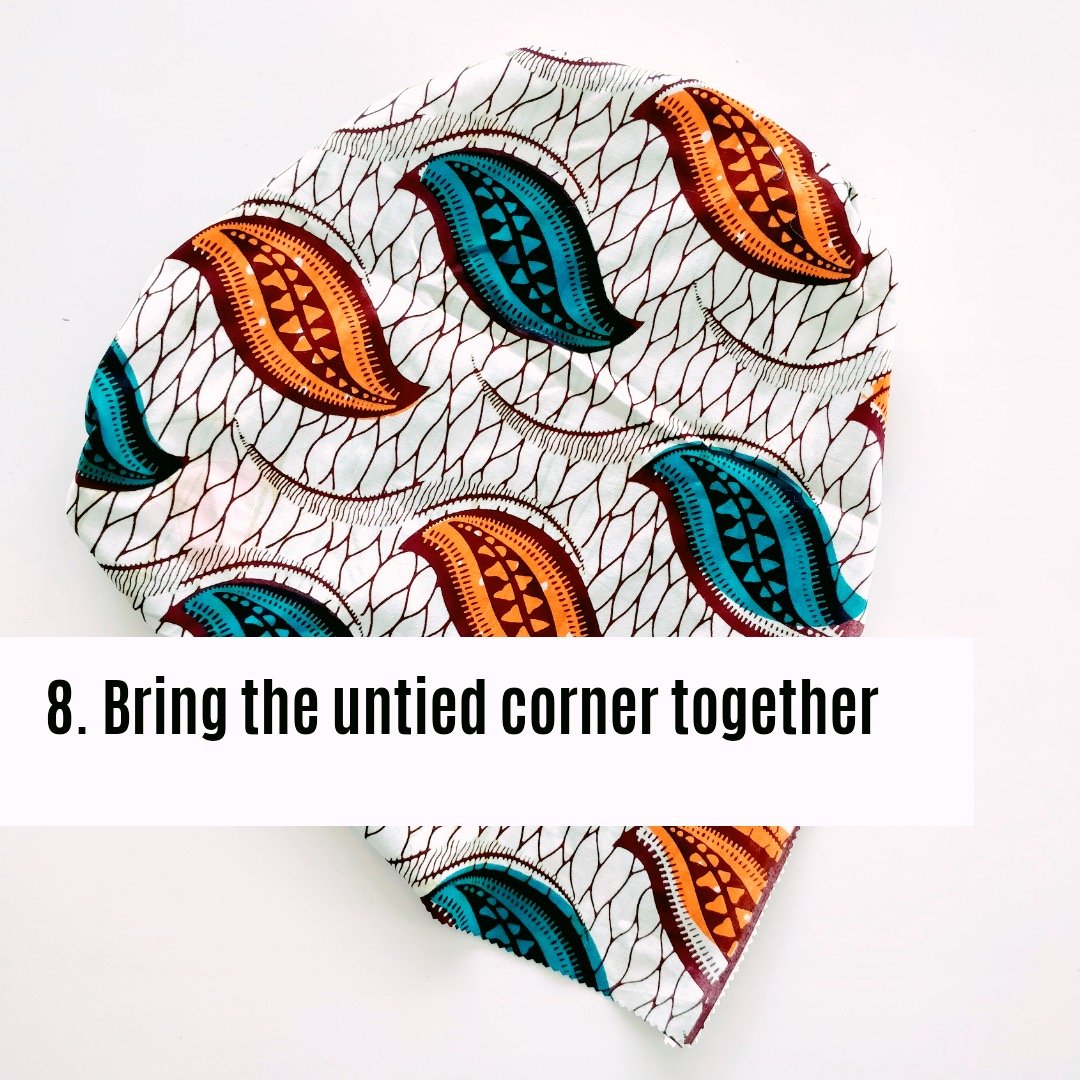
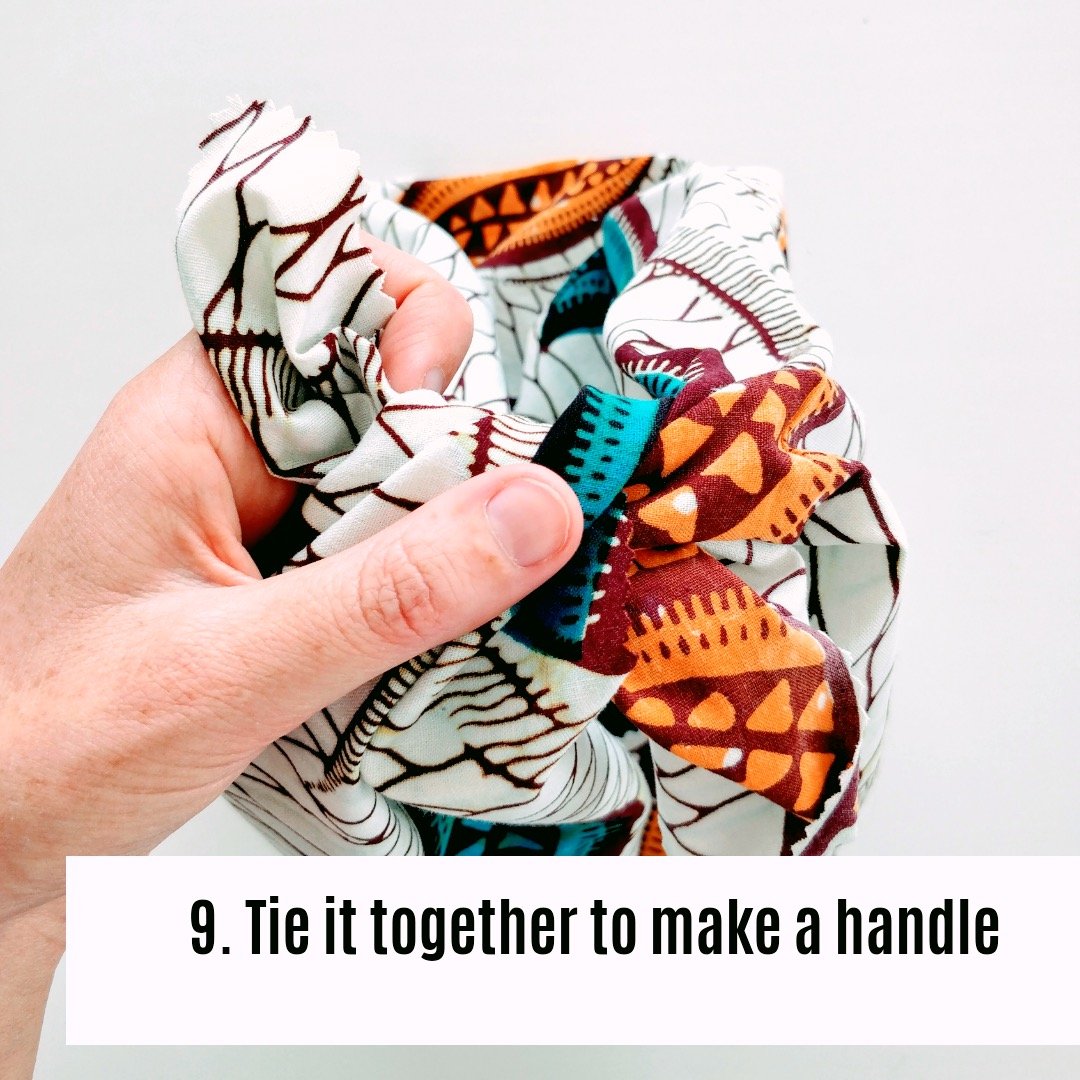
You can either tie any knot you know how to tie at the top or you can tie a square knot, which is the traditional way and which results in a knot that is pretty, strong, and easier to untie.
To tie a square knot (a bit of practice is needed, but you’ll get it!):
place the tail in your left hand over the tail in your right hand and tie once, and
then, bend the right tail under that tie and the left tail over that tie and tie using the loophole you made with the first tie.
You now have a bag you can deconstruct and construct as needed!
*this post contains affiliate links. If you buy something from a featured brand we may earn a small amount. To learn more, see our disclosure policy. We maintain this site in our free time and support in any way, shape or form means a lot and helps us keep it running, whether it is using an affiliate link when investing in something, sharing our content, or buying us a coffee on Ko-fi.

